HOW TO USE EVERSTART BATTERY CHARGER
Whether you’re dealing with a dead car battery on a chilly morning or trying to keep your boat, RV, or lawn mower charged during the off-season, EverStart battery chargers offer a practical solution.
These chargers are designed to safely recharge and maintain 6-volt and 12-volt lead-acid batteries, commonly found in vehicles, motorcycles, boats, and more. With user-friendly features and straightforward operation, they’re ideal for anyone looking to maintain battery health without professional help.
This guide on how to use EverStart battery charger is especially helpful for first-time car owners, beginners in vehicle maintenance, and anyone who wants a hassle-free way to keep their batteries charged.
Types
EverStart offers a variety of battery chargers designed to meet different charging needs, from basic maintenance to quick recharges. Understanding the differences can help you choose the right one for your situation.
Smart Chargers vs. Trickle Chargers
Smart chargers are more advanced, automatically adjusting the charge rate based on the battery’s condition and shutting off when the battery is fully charged. Ideal for modern vehicles and anyone who wants a “set it and forget it” experience. On the other hand, trickle chargers provide a steady, low-level charge over time. They’re great for maintaining batteries in seasonal vehicles like boats or motorcycles, especially when stored for long periods.
6V, 12V, or Automatic Detection
EverStart chargers are available for both 6-volt and 12-volt batteries.
The 6V setting is typically used for smaller batteries in lawn equipment or classic vehicles, while the 12V option suits most modern cars and trucks.
Some EverStart models feature automatic voltage detection, which eliminates the need to manually select the battery type
perfect for beginners or anyone who wants to avoid the risk of incorrect settings.
When to Use Which?
| Charger Type | Best For | Key Feature | Skill Level |
|---|---|---|---|
| Smart Charger | Cars, trucks, SUVs, motorcycles | Auto shutoff, safe for long-term use | Beginner+ |
| Trickle Charger | Lawn mowers, boats (off-season) | Maintains charge over time | Beginner |
| 6V Manual Setting | Classic cars, small engines | Specific voltage choice | Intermediate |
| 12V Manual Setting | Most modern vehicles | Faster charging with control | Intermediate |
| Auto-Detect Charger | Mixed battery types | No manual selection needed | Beginner |
Before You Begin
Gather Your Safety Gear
Before connecting your EverStart battery charger, make sure you have the proper safety gear. Insulated gloves will protect your hands from battery acid or accidental sparks, while safety goggles shield your eyes from any unexpected splashes. Keep a clean cloth nearby to wipe off dirty terminals, and always charge in a well-ventilated space to avoid the buildup of harmful gases.
Inspect the Battery First
Take a few moments to visually check the battery. Look for any signs of leaks, corrosion, cracks, or bulging. Corroded terminals can be gently cleaned, but if the battery has visible damage or is leaking fluid, it’s best not to charge it at all. Also, ensure the terminals are clean and tightly connected to avoid poor charging or sparking.
Ventilation Is Important
When batteries charge, especially lead-acid types, they can release small amounts of hydrogen gas—a highly flammable substance. That’s why it’s crucial to work in a well-ventilated area, ideally outdoors or in a garage with open doors or windows. Good airflow prevents gas buildup and reduces the risk of fire or explosion.

How to Use EverStart Battery Charger
Step-by-step
Using an EverStart battery charger is straightforward, but following the correct steps ensures safe and effective charging. Here’s a clear, step-by-step guide to walk you through the process.
Locate the Battery and Clean the Terminals
First, locate your battery. In most vehicles, it’s under the hood, but some models place it in the trunk or under a seat. Once located, inspect the terminals and clean off any dirt or corrosion using a dry cloth or a battery terminal brush. Clean terminals help ensure a secure and efficient connection.
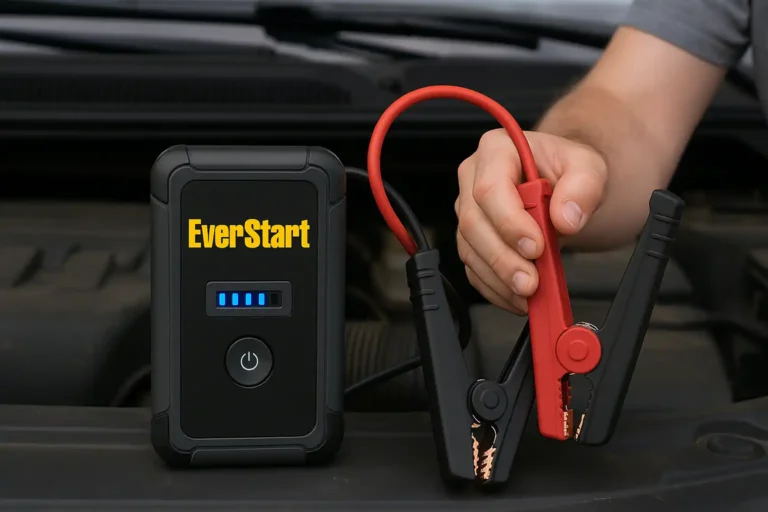
Connect the Clamps – Positive First
Start by connecting the red (positive) clamp to the positive terminal marked with a “+” sign. Next, connect the black (negative) clamp to the negative terminal marked with a “–” sign or to a grounded metal part of the vehicle frame. Always connect the positive clamp first to reduce the risk of short-circuiting.
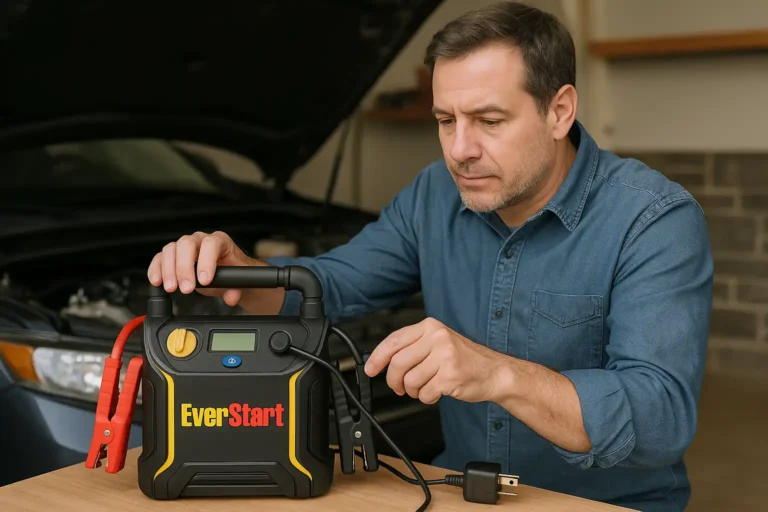
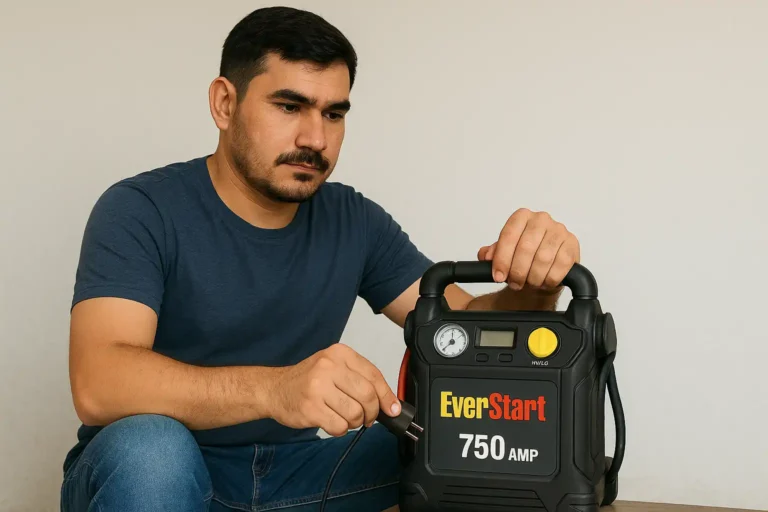
Plug In the Charger and Select Mode
With the clamps securely attached, plug in the charger to a power outlet. Use the control panel to select the correct voltage—6V or 12V—depending on your battery type. If your charger supports automatic detection, it will adjust accordingly. Choose the appropriate charging mode: regular charging, fast charging, or maintenance mode, depending on your needs.
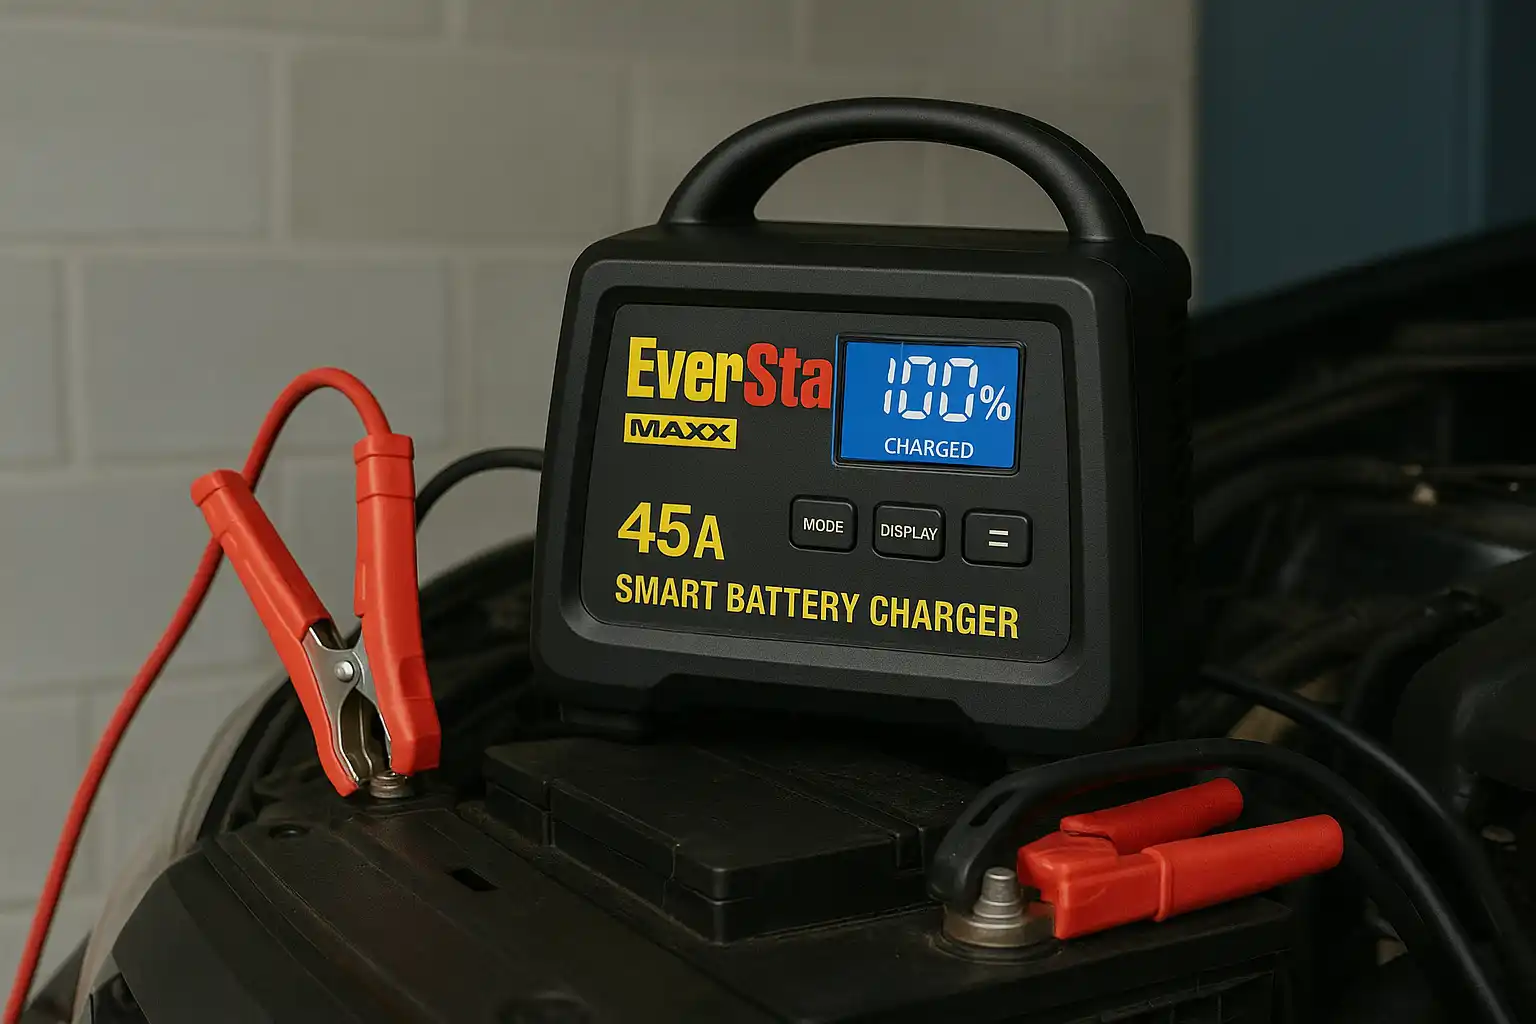
Monitor the LED Indicators or Display Screen
Most EverStart chargers include LED indicators or a digital screen to show charging status.
These indicators will tell you if the battery is charging, fully charged, or if there’s a problem with the connection.
Keep an eye on this display to ensure the process is going smoothly.
Know the Estimated Charging Times
| Battery Condition | Charger Type | Estimated Time |
|---|---|---|
| Completely Dead (12V) | 2A Trickle Charger | 12–24 hours |
| Half Charged (12V) | 10A Smart Charger | 2–4 hours |
| Maintenance Charging | 2A or Smart Mode | Continuous/overnight |
| Small 6V Battery | 2A Charger | 4–6 hours |
How to Know When Charging Is Complete
Knowing when your battery is fully charged is important to avoid overcharging and to ensure safe handling. EverStart battery chargers make this easy with clear indicators and simple tools you can use to confirm the charge.
Indicators on the Charger
Most EverStart chargers come with built-in LED lights or a digital display. A green light or a message like “Charged” or “Full” typically appears when the battery reaches 100%. If your charger has a smart charging feature, it will automatically switch to maintenance mode to keep the battery topped off without overcharging.
Voltage Level on the Battery
For added confirmation, you can check the battery’s voltage using a multimeter. A fully charged 12-volt battery should read between 12.6V and 12.8V when the engine is off. A 6-volt battery should show around 6.3V. If the voltage is lower, allow more time for charging before testing again.
Safe Disconnecting Procedure
Once charging is complete, begin by unplugging the charger from the power source. Then remove the black (negative) clamp first, followed by the red (positive) clamp. This sequence helps prevent accidental short circuits. Store the charger properly and make sure the battery terminals are clean and dry before closing the hood or reconnecting anything else.
Troubleshooting Common Issues
Even with a user-friendly device like the EverStart battery charger, you might encounter a few hiccups. Here are some common problems and what you can do to fix them safely and effectively.
Charger Doesn’t Turn On
Red Clamp Sparks or Beeps
Charger Gets Hot
Battery Won’t Hold Charge